Booking Stock In
This page helps you to understand 'Booking Stock In'.
It's part of the 'Stock' getting-started series.
Making Goods Receipts
This section of the tutorial describes how to create goods receipts.
Once stock has arrived to the store, all there's to do before you can sell is to 'goods receipt' (GR or book in) the stock.
In this tutorial we'll book in stock for a purchase order.
On the main side menu, go to the Stock Management section.
Select 'Goods Receipts' > 'New'.
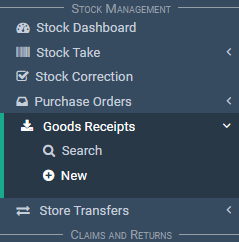
You're now on the Goods Receipts page.
In the 'Purchase Order' field search for the purchase order that your stock arrived on and select it.
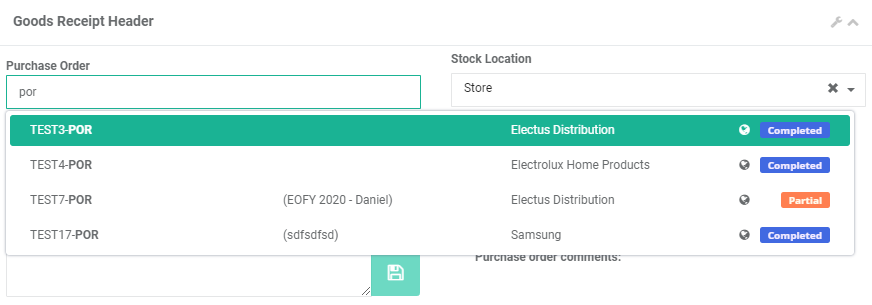
This will auto populate the Goods Receipt with the items on the purchase order.
Tip
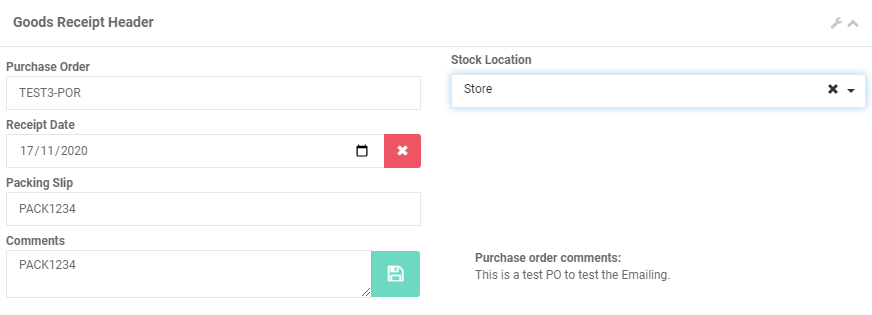
Though the 'Receipt Date' will automatically be set to the current date, most likely you'll hardly ever need to set the date manually.
- Set the 'Receipt Date' if needed.
- Add the packing slip number to the 'Packing Slip' field.
- Add a comment if needed.
- Set the location if you have warehouses. Otherwise the default is 'Store'.
Now in the 'Goods Receipt Details' section.
Under the 'Receipt Qty' field set the quantity of stock to book in.
You can also select the 'Book' icon under the actions column to set the receipt quantity amount to maximum/full.
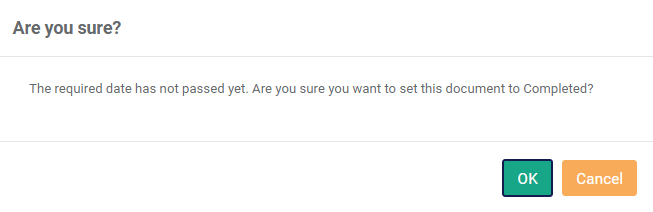
Once you have selected the stock quantity to book in, select the 'Complete' button.
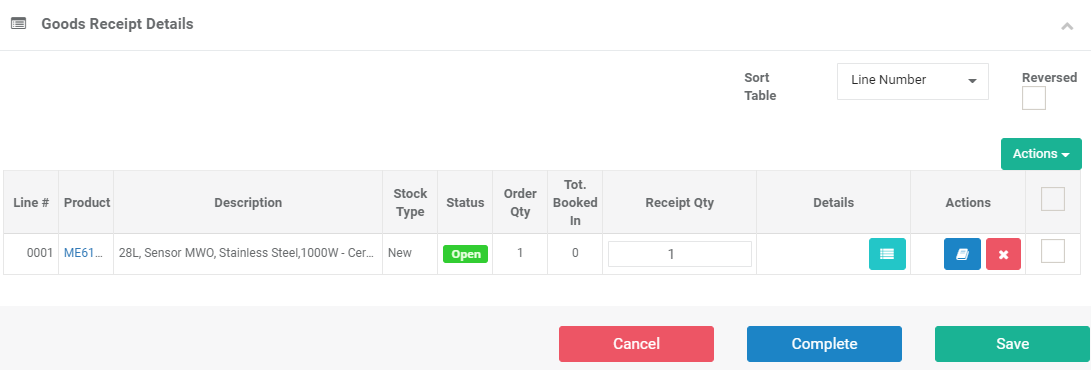
Then select 'OK' to confirm and fully complete the goods receipt.
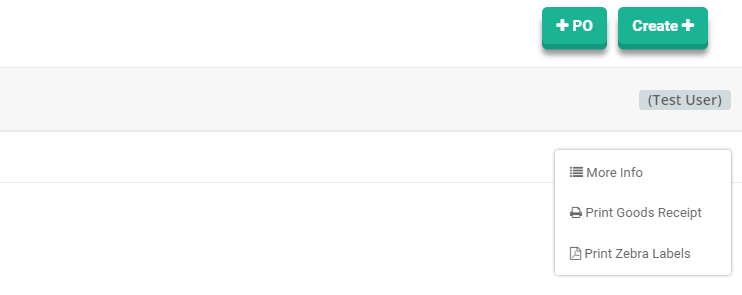
To print the receipt, find the option in the settings menu on the right side of the 'Goods Receipt Header'.
Select 'Print Goods Receipt'.
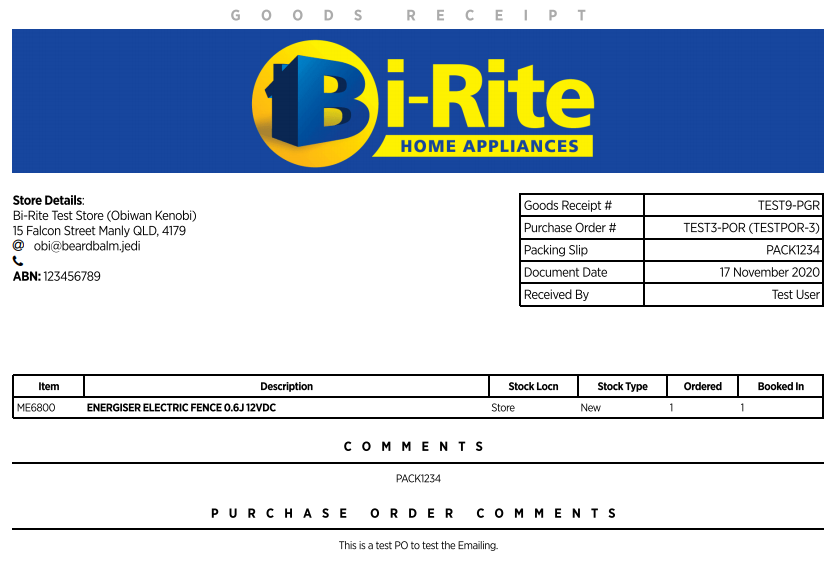
The printout will look something like this.
Uploading Stock
This section of the tutorial describes how to importing stock in bulk via an CSV template.
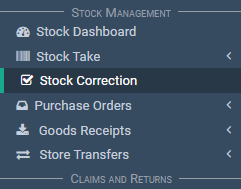
In the main menu on the left of screen, go to the Stock Management section.
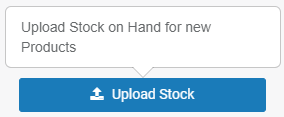
Select 'Stock Correction'.
Then select the 'Upload Stock' button.
A screen will pop-up with different options.
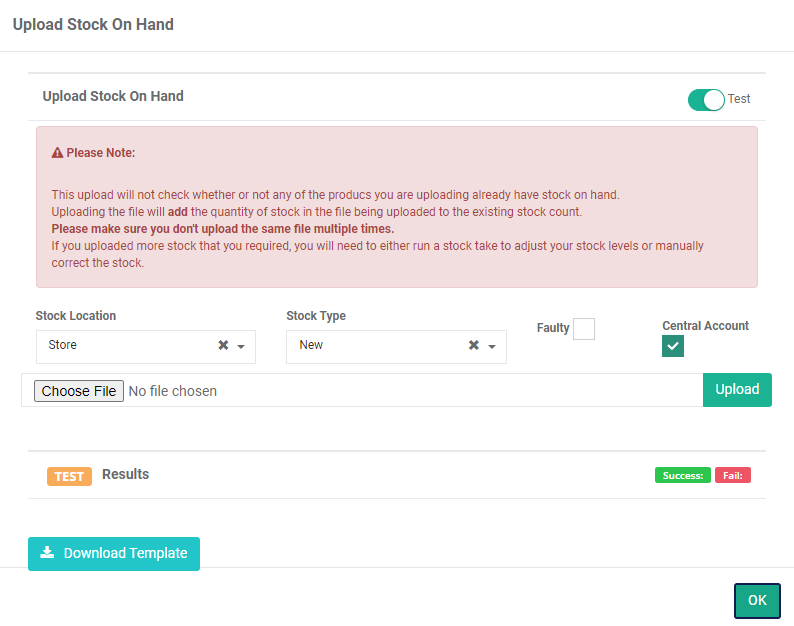
Select the 'Download Template' button.

Open the downloaded CSV template and fill out the required columns:
- Product Code
- Brand Name
- On Hand
- Unit Cost
Make sure to save any changes made to the template document.

Next, upload the file.
Select the 'Choose file' option and select the template csv.

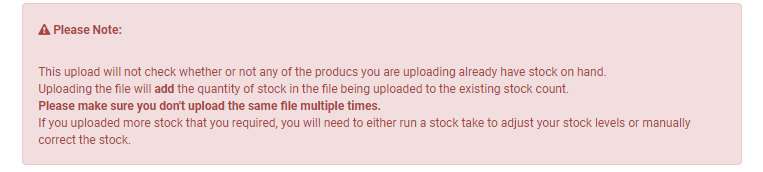
Notice the 'Please Note' message that's above the 'Upload' button:
Notice the following inputs that effect your upload:
- Location
- Stock Type
- Faulty
- Central Account
Adding Non-Central Stock
You can add non-central stock (stock/models that are not handled by Bi-Rite).
Make sure to untick the 'Central Account' setting to do that.

Note
The uploader only accepts CSV format.
Make sure you're in test mode.

Select the 'Upload' button.

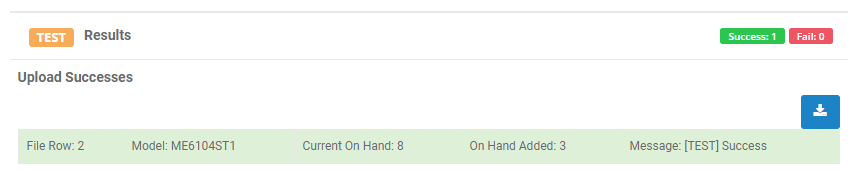
Notice the upload results section.
- Successful rows (green)
- Errors (red)
If you see errors:
-
Try to fix the errors listed
-
Then, try the upload again
-
Repeat until you see no more errors
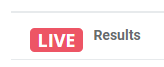
Turn off the test switch.

This takes you to live mode.
Notice the status changes to 'Live'.
Select the 'Upload' button again.
Notice the upload results section.
Your upload is complete.
Stock Correction
Opening The Stock Correction Screen
In the main menu, go to the Stock Management section.
Select 'Stock Correction'.
The 'Stock Correction' screen appears.
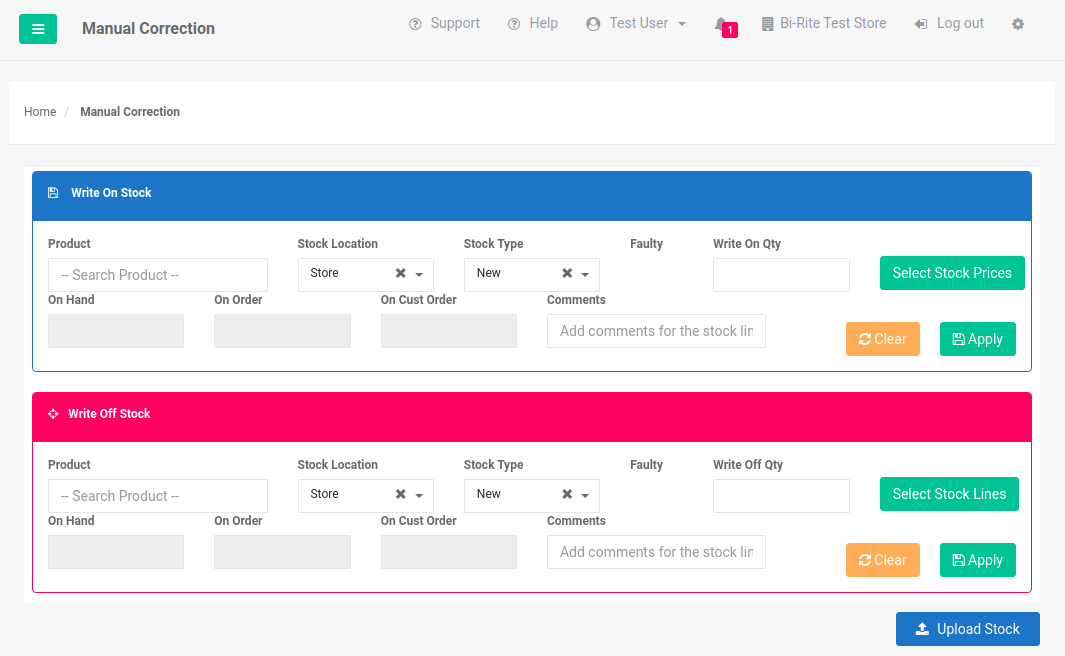
Writing-On Stock
This section of the tutorial describes how to write-on stock.
Open the stock correction screen.
Notice the 'Write On Stock' section.
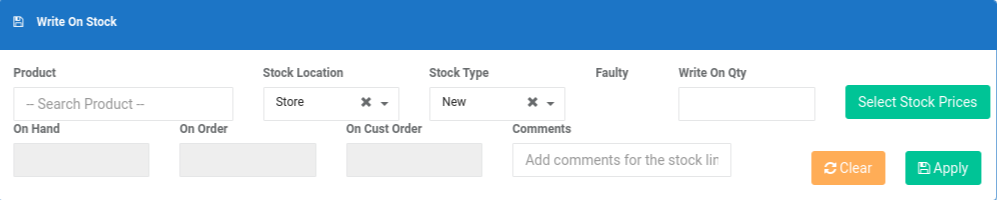
Search and select an item from the 'Product' selector.
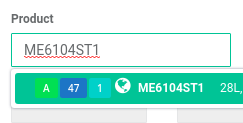
Notice the product details are displayed:

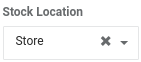
Select a 'Stock Location'.
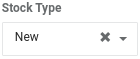
Select a 'Stock Type'.
Select the 'Faulty' checkbox if faulty.

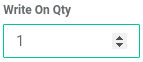
Enter a 'Write On Qty'.
Enter a 'Comment'.
Select the 'Select Stock Prices' button.

The 'Manage Net Prices and Book in Lost Stock' pop-up appears.
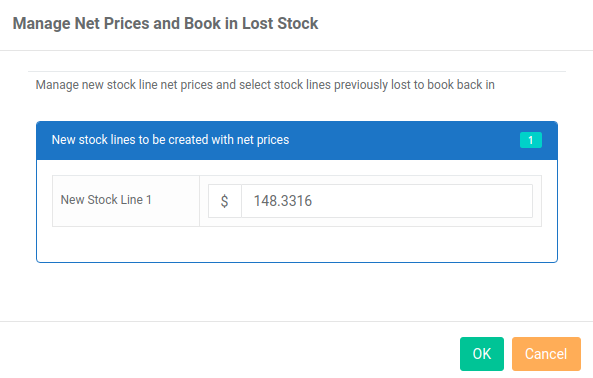
This is where you can:
- Manage new stock line net prices
- Select stock lines previously lost to book back in
Locate the 'New Stock Line 1'.

This is where new stock lines are created with net prices.
Enter a price.

Select the 'OK' button.

Select the 'Apply' button.

Your stock is corrected.
Tip
Go to the stock dashboard to confirm this.
Writing-Off Stock
This section of the tutorial describes how to write-off stock.
Open the stock correction screen.
Notice the 'Write Off Stock' section.
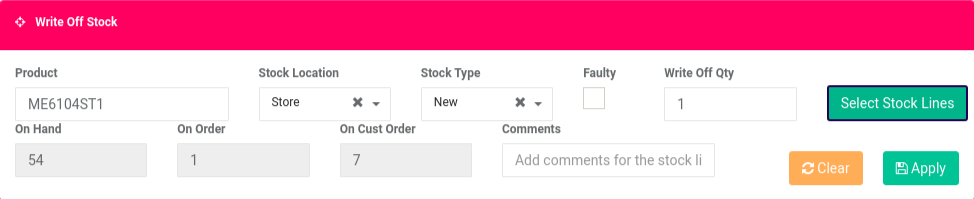
Search and select an item from the 'Product' selector.
Notice the product details are displayed:
Select a 'Stock Location'.
Select a 'Stock Type'.
Select the 'Faulty' checkbox if faulty.
Enter a 'Write Off Qty'.
Enter a 'Comment'.
Select the 'Select Stock Prices' button.
The 'Select Found Stock to Book Out' pop-up appears.
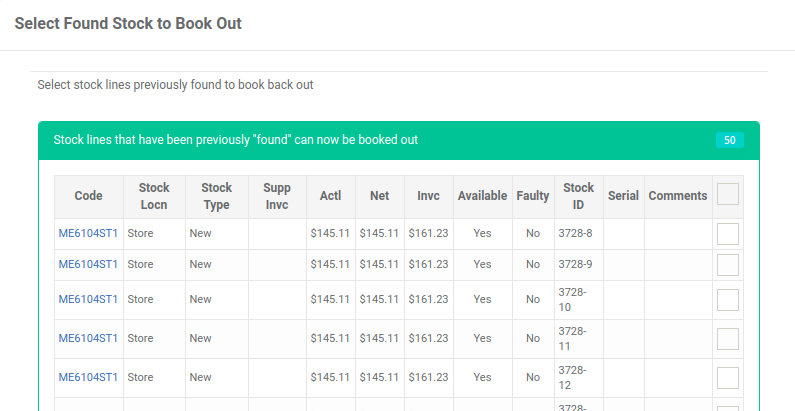
This is where you can select stock lines previously found to book back out.
There are two tables:
- Stock lines that have been previously "found" can now be booked out
- All other stock lines can be selected if required to book out
Locate the items to write off.

Tick the checkbox.

Select the 'OK' button.
Select the 'Apply' button.
Your stock is corrected.
Tip
Go to the stock dashboard to confirm this.
Related Tutorials 
Stock