Making Store Invoices
This page helps you to understand 'Making Store Invoices'.
It's part of the 'Accounting' getting-started series.
Understanding Store Invoices
This section of the tutorial introduces you to store invoices.
Some of the topics covered in this tutorial include:
- Navigating a store invoice.
- Central distributor invoices.
- Individual distributor invoices.
If an invoice is from a central distributor, you can only access it if head office has invoiced it.
You can access it using the search screen.
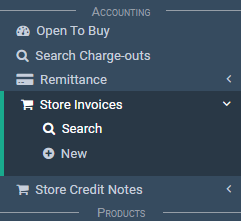
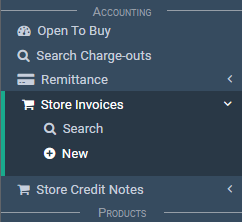
In the main menu, go to the Accounting section.
Select 'Store Invoices' > 'Search'.
If an invoice is from an Individual Distributor, you can select 'New' to create the invoice yourself.
Understanding The Search Screen
The following is a summary of all the columns in the search screen results.
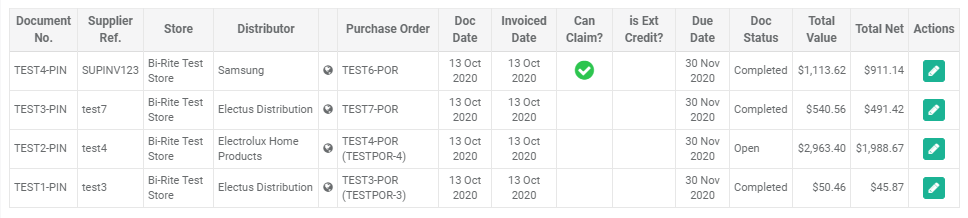
- Document No: Auto-generated store invoice number. This is searchable.
- Supplier Ref: This is the invoice number that the supplier provides. It's searchable using the query field at the top.
- Store: This is the store that the invoice belongs to.
- Distributor: Supplier.
- Purchase Order: Auto-generated purchase order number. This is searchable.
- Doc Date: The document creation date (store invoice creation date).
- Invoiced Date: A reference to the store invoice date that was provided by the supplier.
- Can Claim: Is it possible to raise an overcharge claim or price protection for this invoice?
- Is Ext Credit: Has this invoice been give extended credit?
- Due Date: The date this invoice is due.
- Doc Status: The status of the document - Open, Completed, ReOpen, Closed, Cancelled.
- Total Value: Total value of the document (incl GST).
- Total Net: Total net value of the document (incl GST).
- Actions: Contains action buttons to edit or view the details of the record.
The Search Options
You can search a document using one or combining the following filter options.
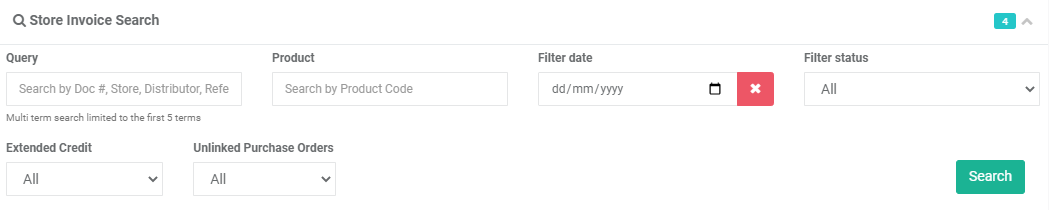
- Query: Search by any part of a term - Document No, Supplier Ref, Distributor, Purchase Order or a combination of any (with spaces in between).
- Product: Enter the full product code and find all the invoices that contain this product.
- Filter date: Pick a date of the 'Doc Date'. The date the invoice was entered into the system.
- Filter status: Choose an option from the drop-down list to find your document filtered by status.
- Extended Credit: Filter by invoices that include extended credit.
- Unlinked Purchase Orders: Filter by invoices that are linked or not.
Store Invoice Screen
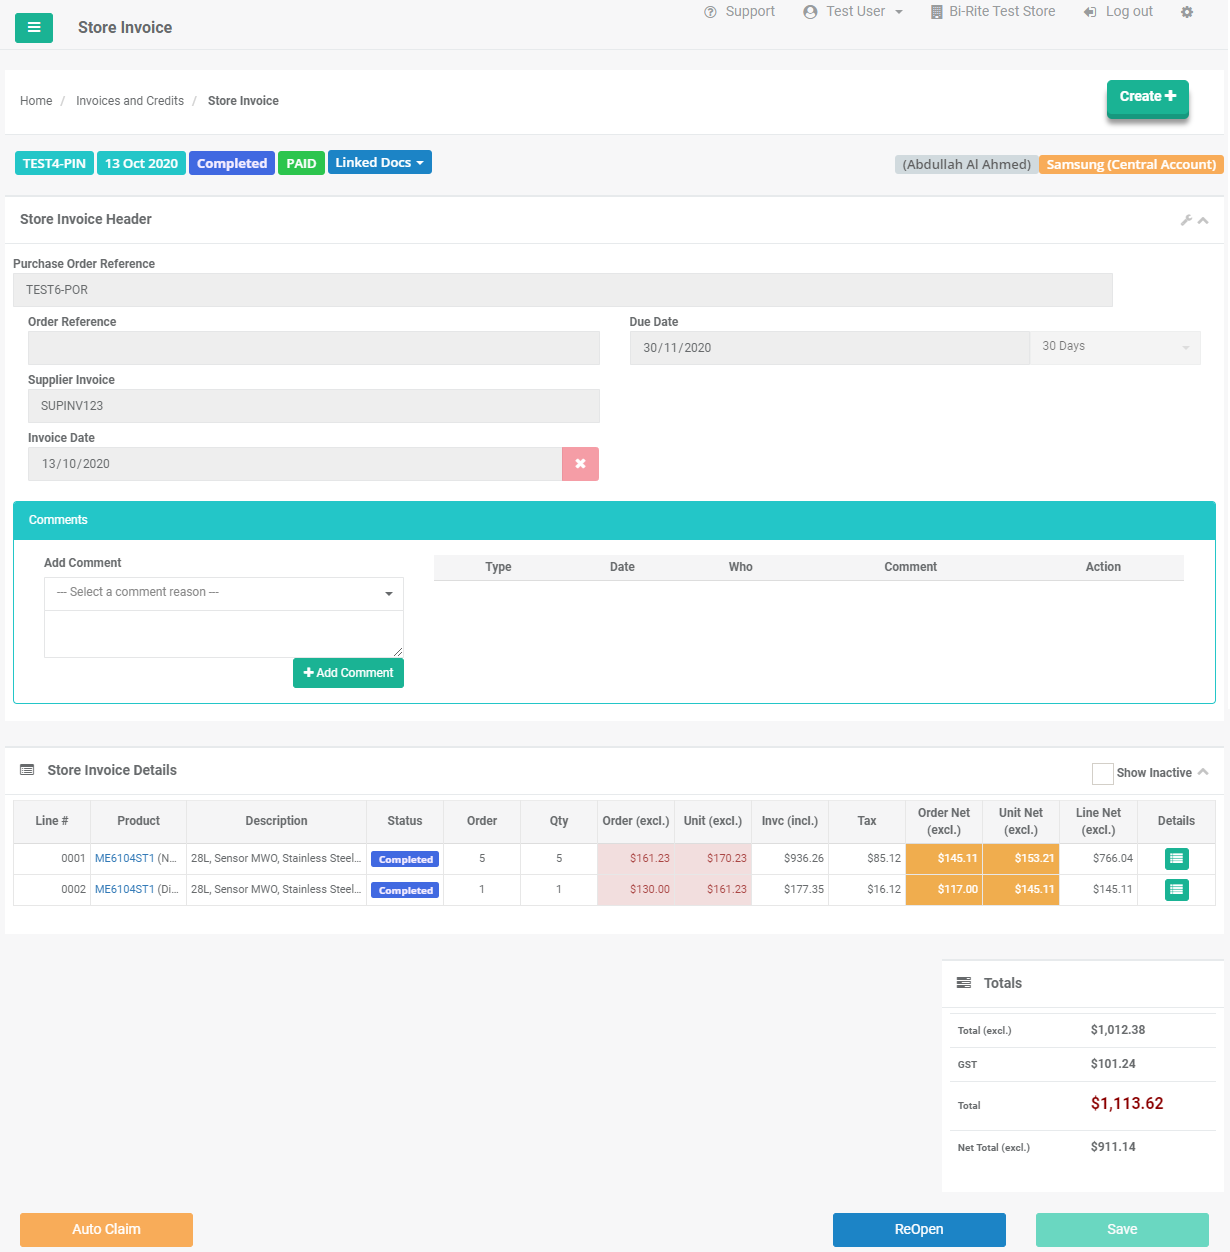
The following is a summary of all the parts of the store invoice screen.
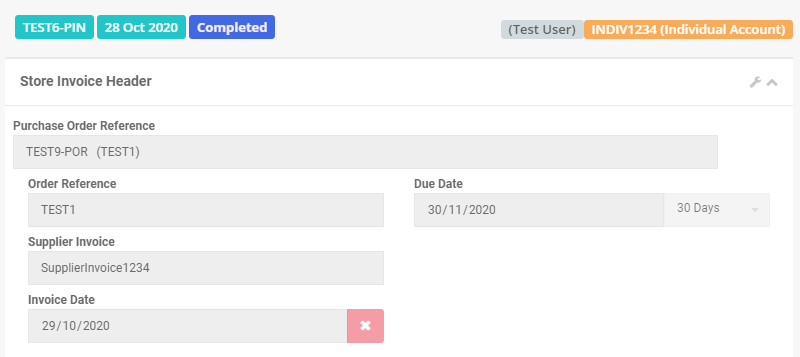
Account Type: Indicates whether it's a Central or Individual Supplier invoice.
Store Invoice Header: This contains:
- A system generated document number.
- A document creation date.
- The status of the document (which are described here).
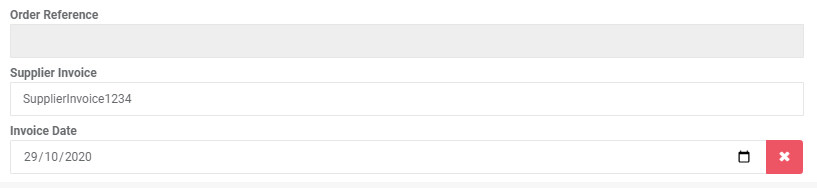
Purchase Order Reference: This is the link between this invoice and the purchase order that had been entered into our system. Notice that it also has the 'Order Reference' from the Purchase Order. This reference code can be searched in the search field.
Supplier Invoice: This is the number the supplier provided and Head Office entered into the system for you.
Invoice Date: Refers to the date the supplier invoiced it.
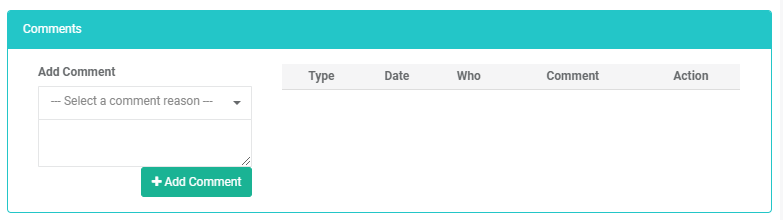
Comments: Add comments that relate to the invoice.
Store Invoice Details: This section shows the records of products that have been invoiced. It's a line by line breakdown. Check the product/model code, quantity and prices are correct.

Note
An overcharged invoice displays with the price fields in pink.
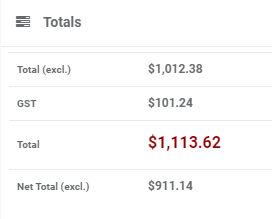
Totals: This section shows the totals breakdown. You would be most interested in the value of the 'Net Total (Excl.)' as generally that's what you would be charged for (everything else being equal).
Buttons: This section contains the main process buttons like approve and save.
Understanding Invoice Statuses

- Open: The invoice is still in an initial state, awaiting for the store to approve.
- Completed: The invoice has been checked by the store and approved. Completed invoices can be reopened if needed.
- Reopen: Once a completed invoice has been reopened, it gets the status of Reopen.
- Reopened: The invoice needs to be approved to move it to the next status. It's recommended to refresh the page before approving an invoice from the state of Reopen.
- Closed: When the invoice has been reversed by head office, the status changes to Closed. Closed invoices are free from being attached to any purchase order.
- Cancelled: When an invoice is cancelled, it gets the status of Cancelled. A cancelled invoice is not attached to any purchase order.
Creating Central Distributor Invoices
In this section of this tutorial you'll learn about two types of central distributor invoices:
Creating Head Office Linked
This section describes how to process a central-distributor-invoice that's linked by head office.
In this case:
- The invoice is from a central distributor.
- Head office does the linking of the purchase order for you.
In the main menu, go to the Accounting section.
Select 'Store Invoices' > 'Search'.
Search for the document you're looking for (using the search options).
Select the 'Edit' button located in 'Actions' column.
This will open the document to show detailed information.
Once opened, check the details of the invoice against the paper work you have.
Make sure you're looking at the correct document.
Notice that the purchase order is linked for you by head office.
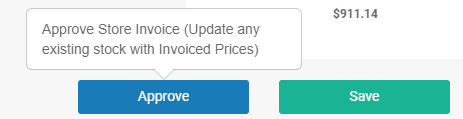
Once checked, select the 'Approve' button.

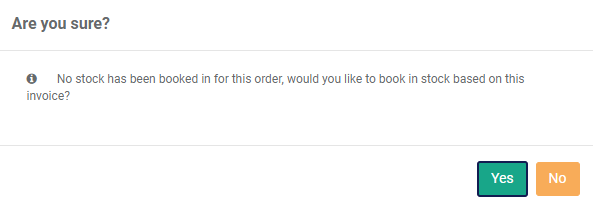
If the goods are not receipted yet, you'll be asked to auto-book it.
If that applies to the scenario, select 'Yes' to approve it.
This will fulfill the goods receipt to match the invoiced products and quantity.
If you want to receive the goods separately and manually, select 'No'.
Once approved, the products in the invoice will now have the 'actual cost'.
Creating Store Linked
This section describes how to process a central-distributor-invoice that's linked by the store (not head office).
In this case:
- The invoice is from a central distributor.
- You (the store) do the linking of the purchase order.
In the main menu, go to the Accounting section.
Select 'Store Invoices' > 'Search'.
Follow the same steps from this tutorial [Central Distributor Invoices - Head Office Linked].
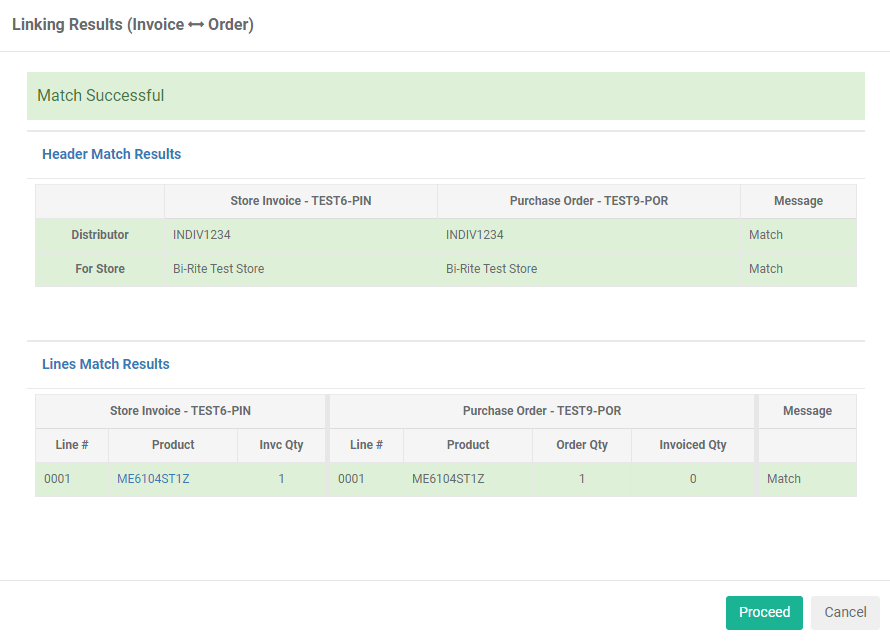
The only difference is that you'll need to select a purchase order.

A linking results pop-up will appear.
Select 'Proceed'.
The Importance Of Linking Invoices To Orders
Creating Individual Distributor Invoices
This section of the tutorial describes how to process individual distributor invoices for your purchase orders.
In the main menu, go to the Accounting section.
Select 'Store Invoices' > 'New'.
Here you create the invoice yourself, as opposed to head office doing it for you.
Search for a purchase order and select it.

A linking results pop-up will appear.
Select 'Proceed'.
Add a supplier invoice number.
Add an invoice date.
Select a product to order.
Start typing in the Product field to search for a product.
The field will begin searching after at least two characters have been entered.
Products can be searched by Code, Name, Brand or Distributor.
Use the mouse to select the product or select 'Enter'.

This will load the price fields with the current invoice price.
Edit the price if needed.
Enter a quantity.
Select 'Apply'.
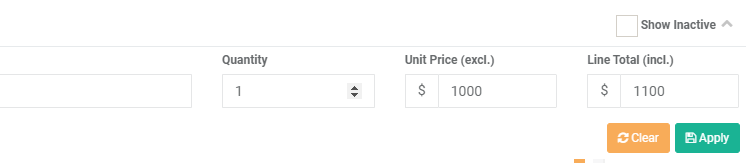
Notice a line now appears on the document.

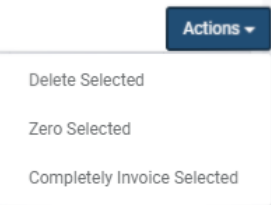
Also notice the 'Actions' dropdown where you can:
- Delete selected
- Zero selected
- Completely invoice selected
If applicable, select the lines to perform these actions on.
Check the box on the line.
Then select an action.
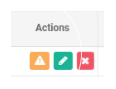
Also notice the options on each line.
The icon buttons allow you to:
- See a detailed summary of the line.
- Set invoice quantity to zero.
- Edit the line.
- Delete the line.
You can also add charges to the invoice.

When you're happy with the invoice, select 'Approve'.

If the goods are not receipted yet, you'll be asked to auto-book it.
If that applies to the scenario, select 'Yes' to approve it.
This will fulfill the goods receipt to match the invoiced products and quantity.
If you want to receive the goods separately and manually, select 'No'.
The invoice is now in a 'Compeleted' state.

You can reopen the invoice if needed.
Related Tutorials 
Accounting