User Authentication
This page helps you to understand 'User Authentication'.
It's part of the 'Admin' getting-started series.
Resetting Passwords
This section of the guide describes how to reset your password.
From time to time occasions may arise where it's necessary to change or reset your login password.
The following guide describes the steps involved in this process.
The password reset button is located on the main login screen.
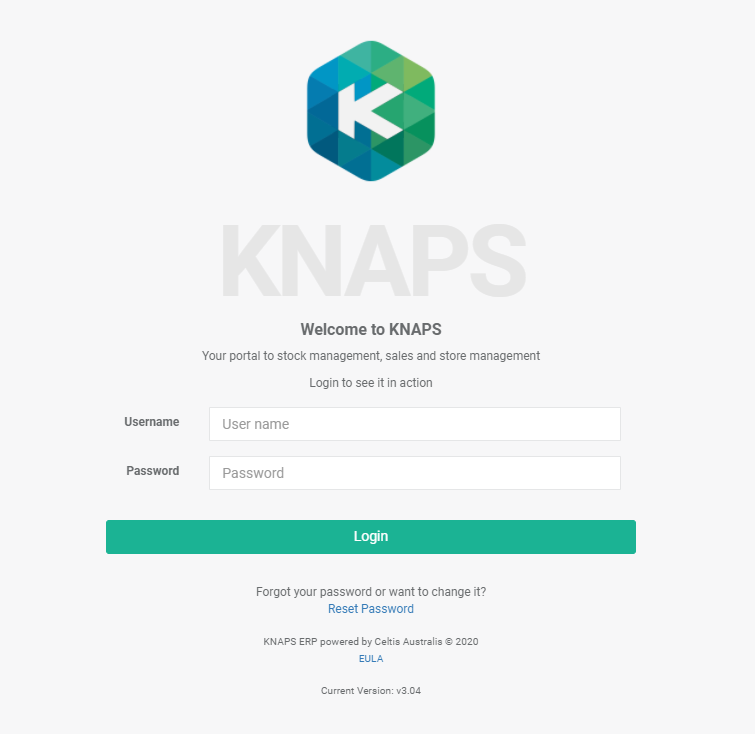
Select the 'Reset Password' link.
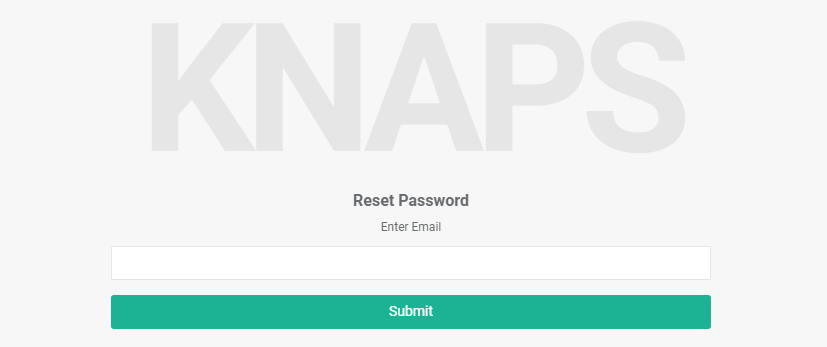
Selecting this button will take you to a new page.
You'll be asked to provide an email address to which the password reset link will be sent.
Enter your email address and select 'Submit'.
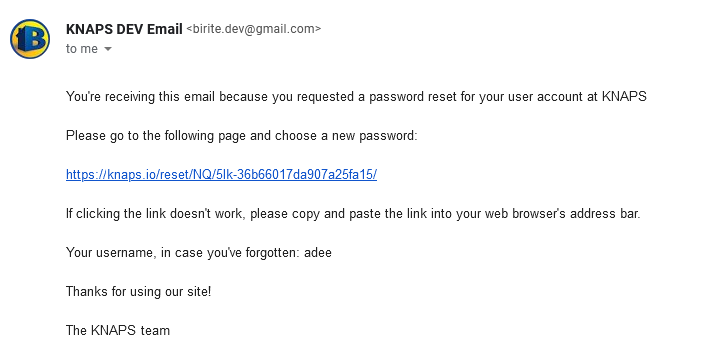
You'll receive an email with a link to the password reset page.
Note
In order to receive the password reset email you must provide the email address associated with your KNAPS account.
If you're logged out of your account and do not remember which email address to use, contact your store manager or KNAPS support for guidance.
Similarly, if you have any further trouble with this process, i.e. you do not receive an email or have trouble opening the reset link etc, please contact KNAPS support.
Select the link on the email you recieve.
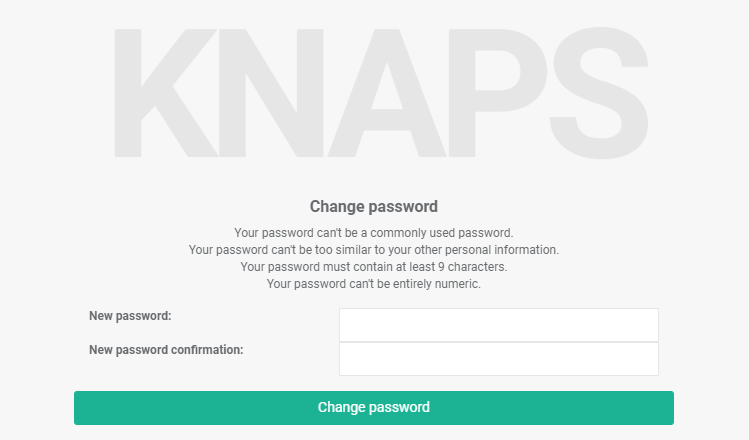
This page will load.
Enter your new password in the fields provided and select 'Submit'.
Your password will now be reset, proceed to the main login page.
Reseting Pin Codes
This section of the guide describes how to reset your pin code.
KNAPS requires all uses set themselves a pin code in order to navigate certain areas of the system.
Pin codes are also used to confirm the correct user is logged in when performing certain tasks such as making sales etc.
It's important to keep your pin code secret and is a good idea to change it from time to time.
The following guide describes the steps involved in resetting or changing your pin code.
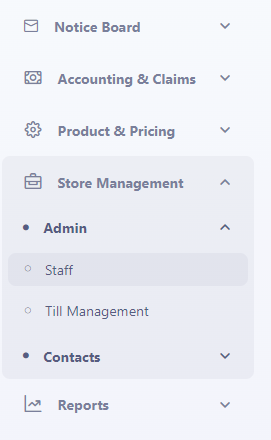
In the main menu, go to the Store Maitenance section.
Select 'Admin' > 'Staff.
A list of all staff members will appear, use the 'Query' field to find your profile and select the 'Edit' button to open a staff.

The pin code field is located in the 'Staff Details' section.
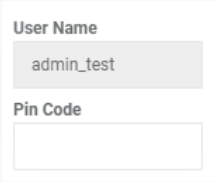
Simply enter your desired pin code.
Select 'Save'.
For security reasons, the pin code field will always appear blank when you open your profile.
You'll always be asked to enter a pin code when saving the page no matter what other changes you make.
Note
This functionality is restricted to store managers/owners only.
You may need to contact your store manager and ask for their assistance with changing your pin code.
Understanding Staff ID Pop-ups
Using Staff ID Pop-ups
This section of the guide describes how to use the staff ID pop-up.
When making a new sale, KNAPS will ask for your staff ID.
This feature was introduced in KNAPS version 2.05 to replace the pin-code system for the sales section.
Please note that the staff ID pop-up is purely to identify the salesperson and is not used for security purposes.
When making a new sale:
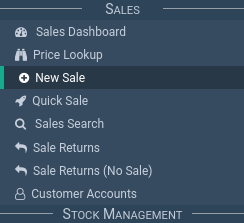
In the main menu, go to the Point Of Sale section.
Select 'Sales' > 'New Sale.
Enter your staff ID.
Then select 'Enter' on your keyboard or select 'Select Staff'.
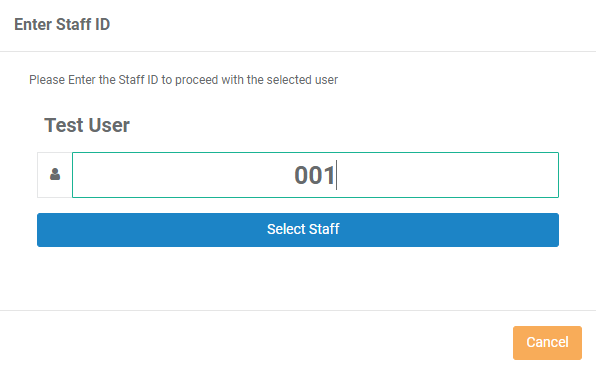
You'll notice that when you enter your ID it'll display your name.
Be sure before selecting 'Enter' on the keyboard or selecting 'Select Staff' that the name displayed is yours.
Managing Staff IDs
This section of the guide describes how to manage staff IDs.
In the main menu, go to the Store Maitenance section.
Select 'Admin' > 'Staff.
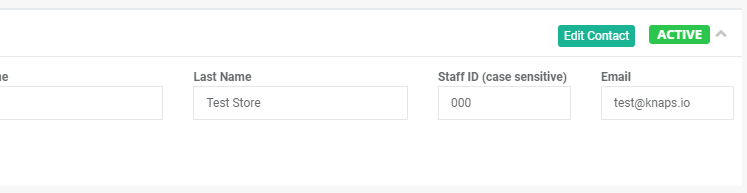
Here you'll be able to see staff ID's under the 'Staff ID' column.
To edit the staff's ID, select the 'Pencil' icon under the 'Actions' column.
Under the 'Staff ID (case sensitive)' field, enter the new staff ID.
The staff ID can contain letters and numbers.
Also, you'll need to re-enter the staff pin-code.
Then select 'Save'.
Note
Please be aware that the admin section requires store managers/store owners permissions to view.
If you require any changes to your staff ID please contact the appropriate person.
Multifactor Authentication (MFA)
In today's digital world, protecting your accounts is more important than ever. One powerful tool in your security arsenal is Multi-Factor Authentication (MFA).
MFA adds an extra layer of security by requiring not only a password but also a secondary form of verification.
In this guide, we'll walk you through the steps to set up MFA for your account, enhancing its security.
Step 1: Install Google Authenticator
- Go to your device's app store (Google Play for Android or App Store for iOS) and search for "Google Authenticator."
- Download and install the app.
Step 2: Set Up Google Authenticator
- Launch Google Authenticator on your mobile device.
- Tap the "+" icon or the "Add Account" button within the app.
Step 3: Link Your Account
- Go to the staff search page.
- Open the required staff page.
- Click the "MFA Setup" button. You will see a QR code on your screen.
- Use Google Authenticator to scan the QR code displayed on your computer screen. This links your account to the app.
Step 4: Save Backup Codes
- KNAPS will provide you with a backup code.
- Keep this code in a secure place.
- It’s essential if you ever lose access to your mobile device and you want to disable MFA.
Step 5: Verify the Setup
- On your computer screen, enter the one-time password (OTP) generated by Google Authenticator into the provided field.
- Click "Verify" to confirm that MFA is set up correctly.
Step 6: Secure Your Mobile Device
- Ensure that your mobile device is protected with a strong PIN, password, or biometric authentication to prevent unauthorized access to the Google Authenticator app.
Congratulations!
You've successfully enabled Multi-Factor Authentication (MFA) for your account using Google Authenticator. Your account is now more secure, and you can log in with confidence.
Remember to safeguard your backup codes in case you need them to disable MFA in your account. MFA is a powerful security measure, and it's a wise choice to enhance your online security.
Scenario
As a store owner you wish your staff would be prevented from logging into KNAPS from their homes.
Turn on MFA on all the staff accounts you wish to restrict access, use a single device to add register the MFA for those accounts onto.
Secure that device so only you can log in your staff to KNAPS each morning.
Related Tutorials 
Admin