How To Make Statement Runs
This page helps you to 'Make Statement Runs'.
It's part of the 'Sales/Customer Accounts' how-to series.
Steps:
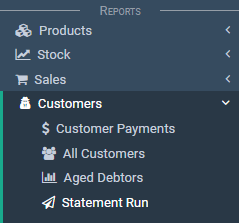
In the main menu, go to the Reports section.
Select 'Customers' > 'Statement Run'.
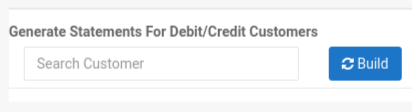
Notice the input boxes.

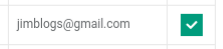
See the first input.
There are two options:
- Enter a customer name (build statement for that customer only)
- Select the 'Build' button with no customer entered (build statement for all customers)
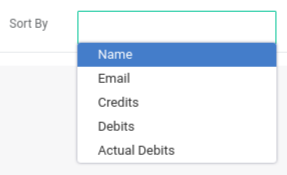
Notice the second input (Sort By).
You can sort the customers by these columns:
The third input is the 'Reverse Sort' switch.

Select the 'Build' button (make sure no customer is entered in the input box).

Notice the list of customers for the statement run.
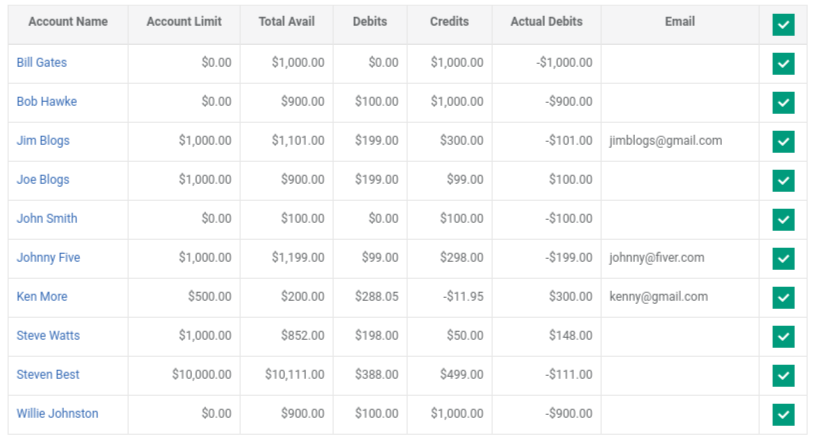
To select a customer, tick the checkbox.
By default, all the customers are ticked.
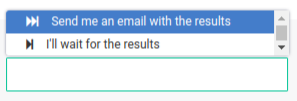
Notice the input boxes and buttons on the bottom of the screen.

Select a 'Send Preference'.
Select the checkbox to 'Include Invoices' (optional).
This will print invoices as well as statements.

Finally, there are two options:
- The 'Print' button
- The 'Email Statements' button

To print the statements, select the 'Print' button.
The printouts appear.
To email the statements, select the 'Email Statements' button.
The 'Confirm' pop-up appears.
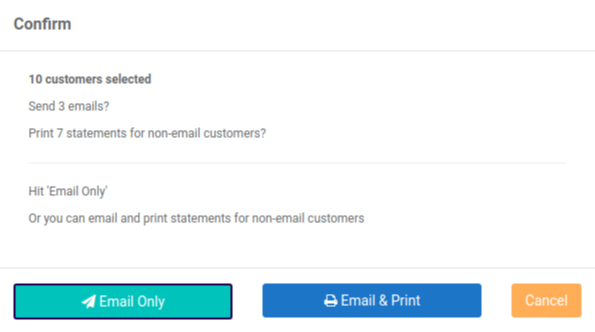
Here you have two options:
- Email only (only sends to customers that have an email address)
- Email and print (prints for customers that have no email address)

Select the 'Email' button.
Your statements are now emailed.
Check you email for the results.
Related How-tos 
Customer Accounts