Making Sale Payments
This page helps you to understand 'Making Sale Payments'.
It's part of the 'Sales' getting-started series.
Making Finance Payments
Standard Finance
This section of the tutorial describes how to create finance payments.
-
Start a new sale and add a product.
-
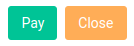
Select the 'Payments' button.

View the 'Payments' pop-up.
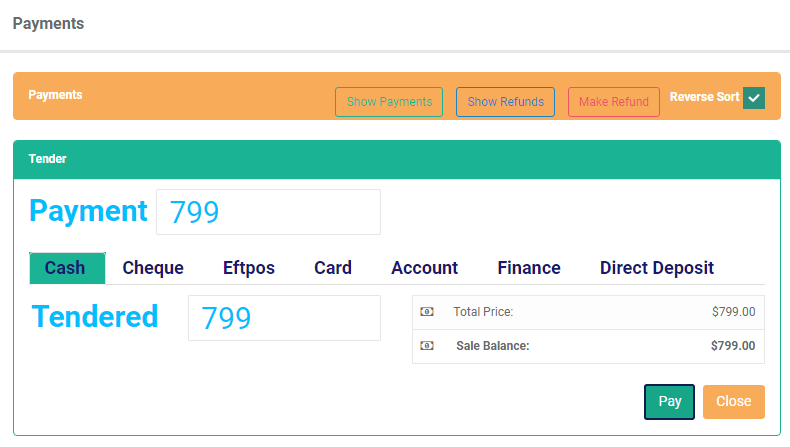
Select the 'Finance' tab.

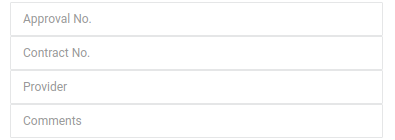
Enter details for the finance payment.
Select the 'Pay' button.

To confirm that the payment exists.
-
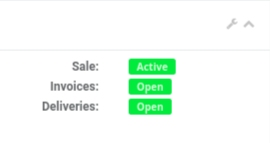
Select the 'Settings' icon.
-
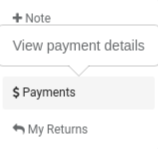
Select 'Payments'.
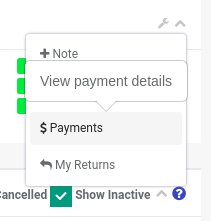
View the 'Payments' pop-up.
Notice the finance payment exists.
Tip
You can also view the payment in the 'Customer Account' screen.
Finance With Retention
Follow the steps here to create a finance payment.
In addition to that there are two extra steps:
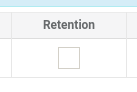
Firstly, on the sale line, select the 'Retention' checkbox.
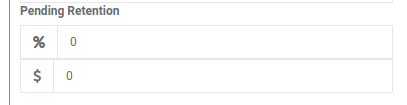
Secondly, enter the 'Pending Retention' details (dollar value or percentage).
Refunding Finance Payments
You can refund finance payments.
Open the sale.
Select the 'Payments' button.
The 'Payments' pop-up appears.
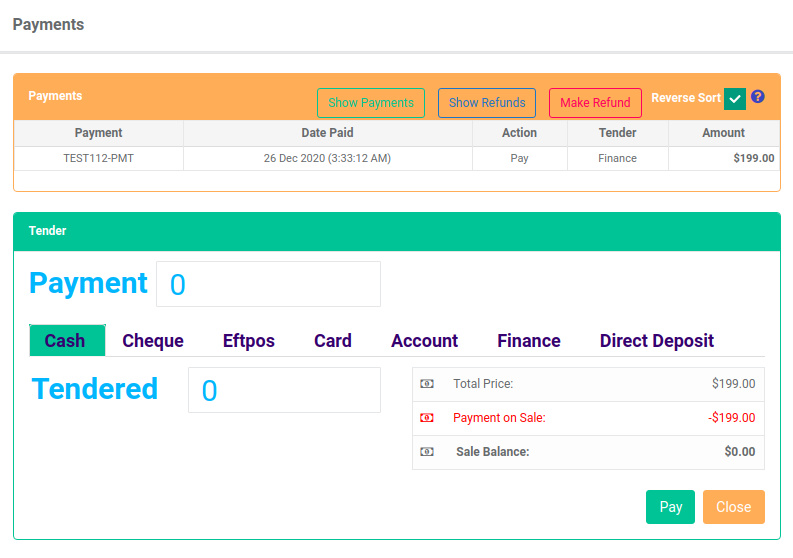
Select the 'Make Refunds' button.

Notice the finance payment in the table.

Select the checkbox.
Enter the refund amount.
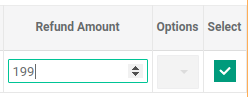
Select the 'Pay' button.
Select 'Proceed' on the confirm pop-up.

Your refund is now complete.
To double check, select the 'Settings' icon.
Select 'Payments'.
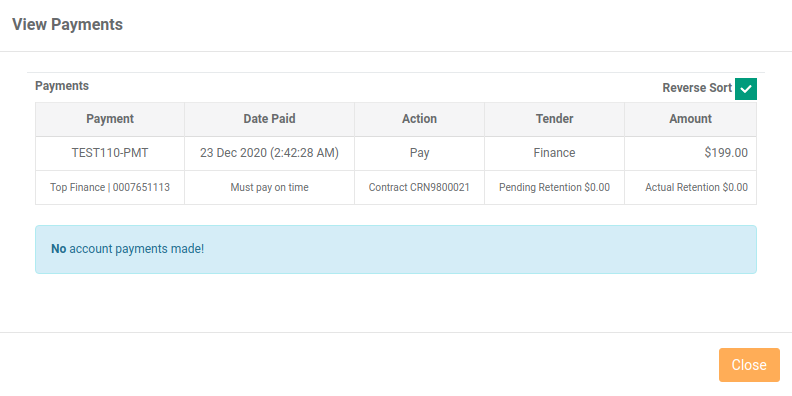
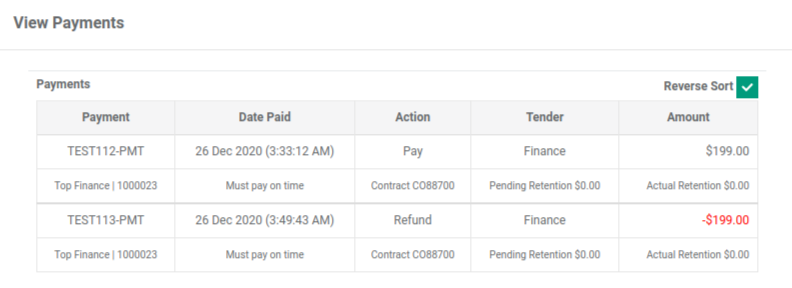
The 'View Payments' pop-up appears.
Notice the finance payment and the refund.
Making Refunds
This section of the tutorial describes how to create refunds.
After a customer makes a payment you can refund it.
In this tutorial you'll learn about:
- Like for like refunds
- Refunding a credit
- Refunding Eftpos as cash
The following payment types can be refunded:
- Cash
- Card
- Cheque
- Eftpos
- Direct Debit
- Account
- Finance
- Gift Card
Refunding Like For Like
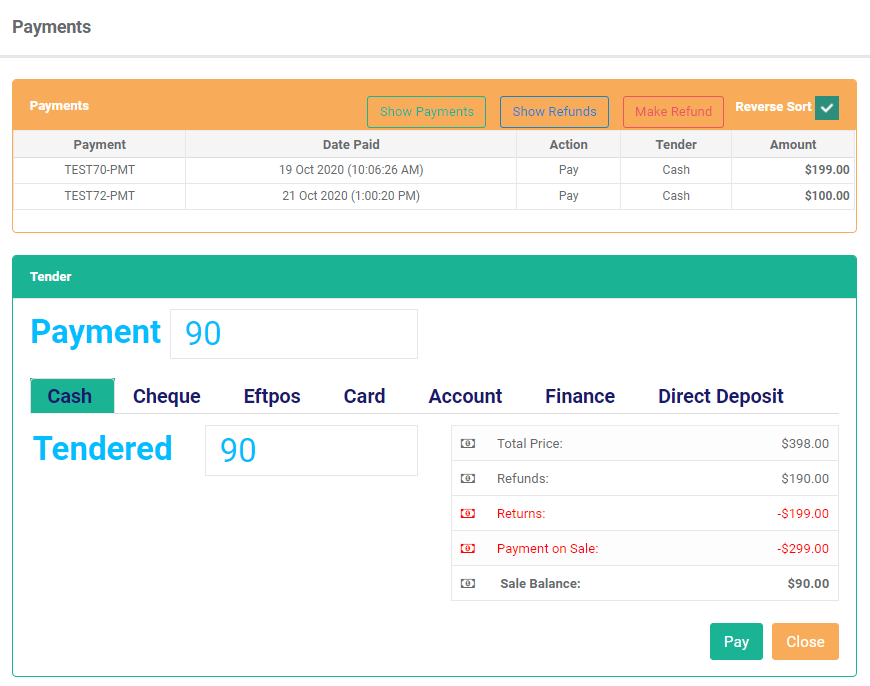
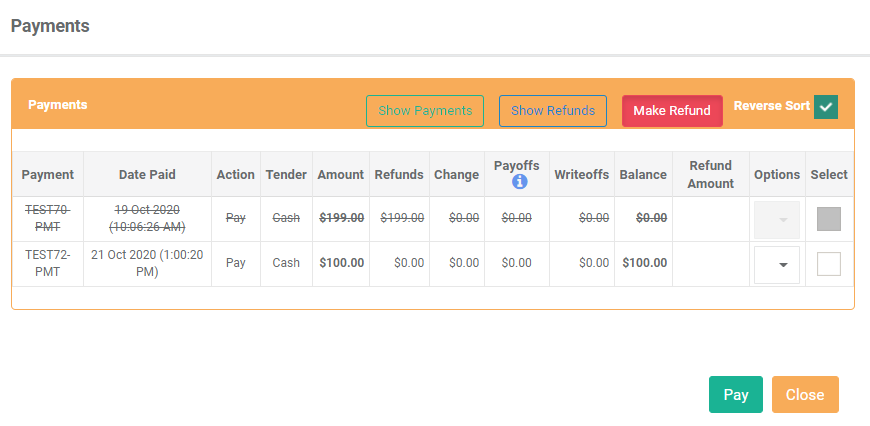
To refund a payment select the 'Payments' button.
This will open the payments pop-up.
Notice the sale payments in the top section.
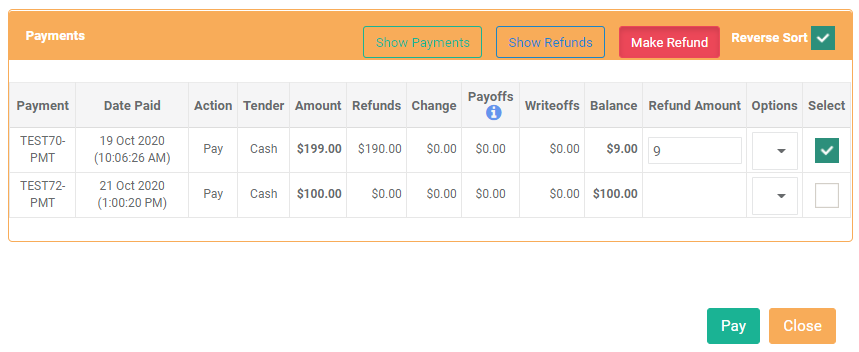
Select the 'Make Refund' button.
This will enable input boxes on the payment lines.
- Find the line you want to refund.
- Check the 'Select' box.
- Add the amount to refund.
- Select 'Pay'.
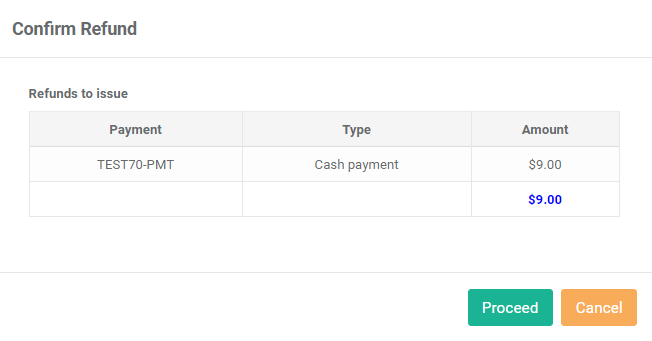
This will do a like-for-like refund.
Next you need to confirm the payment.
Select 'Proceed'.
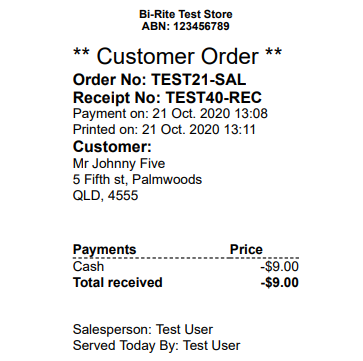
The receipt is printable via the 'Cust Receipts' section.
Notice the refund is a negative number.
Select the 'Print' icon to print.
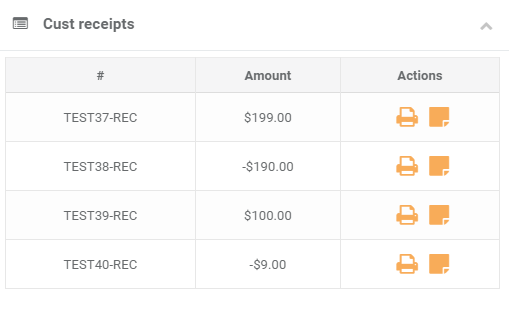
View the receipt.
Notice the refund value is a negative number.
If you reload the payments pop-up, you'll see that a fully refunded line has a strike through it.
Refunding As Credit
'Refunding as credit' means the customer's account will get credited for the refund value.
In order to refund as credit, follow the steps in the Like For Like tutorial.
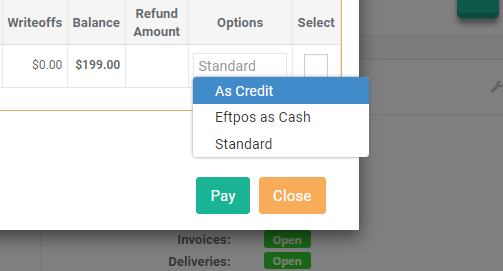
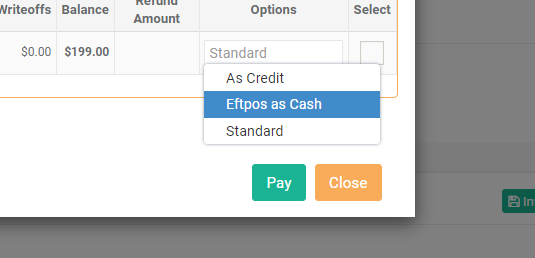
At the point where we enter the refund amount, select 'As Credit' as the refund type.
Enter the refund value.
Select 'Pay'.
Then select 'Proceed' on the confirm pop-up.
Print the payment receipt and notice that:
- The refund value is a negative value
- The total heading says 'Total received as credit'

To confirm that the customer received the credits you can go to the Customer Account page.
Find the shortcut in the 'Sale Header'.
Select the customer's name.
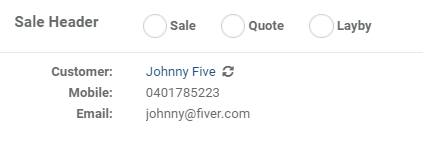
The Customer Account page will open.
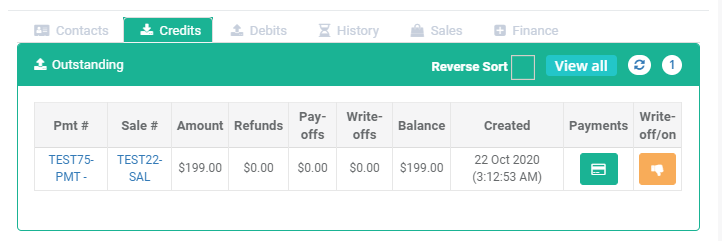
Select the 'Credits' tab.
You'll notice the credit line with:
- A link to print the receipt
- A link to the original sale
- All the values and totals related to the credit
- A button to view the history of the credit line
- A button to write-off or write-on the credit
Refunding EFTPOS As Cash
Refunding EFTPOS as cash means the customer will receive cash.
In order to refund EFTPOS as cash, follow the steps in the Like For Like tutorial.
At the point where we enter the refund amount, select 'Eftpos As Cash' as the refund type.
Enter the refund value.
Select 'Pay'.
Then select 'Proceed' on the confirm pop-up.
Print the payment receipt and notice that:
- The refund value is a negative value
- The payment line says 'Eftpos (as cash)'

Making Debit Payments
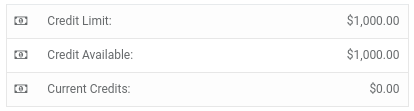
A customer can make debit payments if:
- They are set as an 'Account Customer'
- They have available credit
From an open sale, select the 'payments' button.
The 'payments' popup appears.
Select the 'account' tab.

Notice the customer has credit available.
Enter a payment amount.
Select the 'pay' button.
Locate the 'Totals' panel and notice the 'owed to account' field.
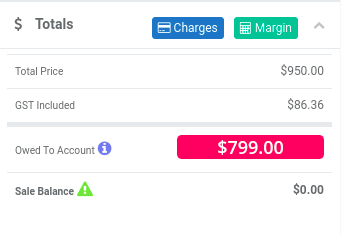
You can also confirm that the payment exists on the customer's account page.
Your debit payment is successfully made.
Related Tutorials 
Sales