Adding Products
This page helps you to understand 'Adding Products'.
It's part of the 'Products' getting-started series.
Creating Products
Note
You should have your distributors and brands created before creating a product.
To find out more about how to create Distributors/Brands, check here.
In this section of the tutorial you'll learn how to create a product.
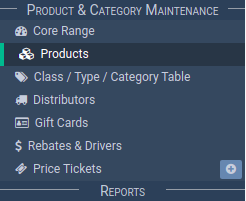
In the main menu on the left of screen, go to the Products section.
Select 'Products'.
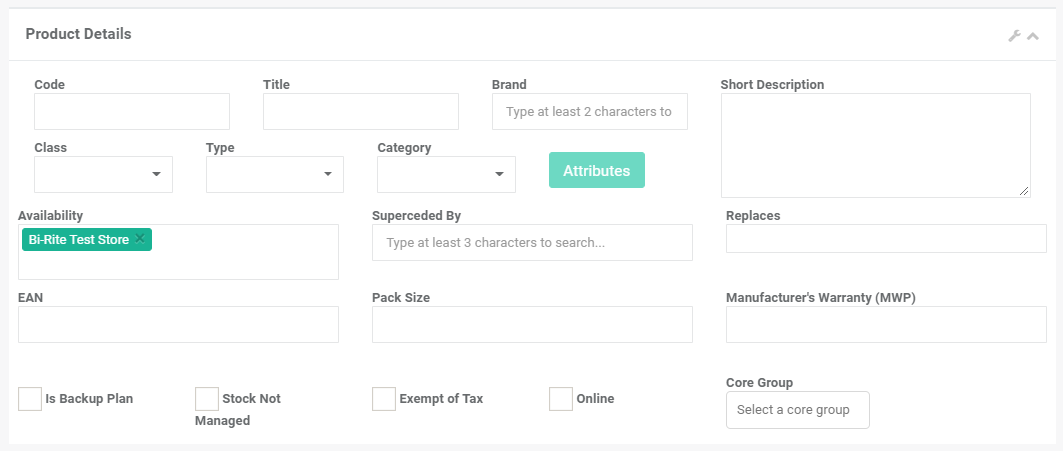
Fill in the required fields for the product.
Required fields are:
- Code
- Name
- Brand
- Class
- Type
- Category
Select Save.
You now have an individual product for your store.
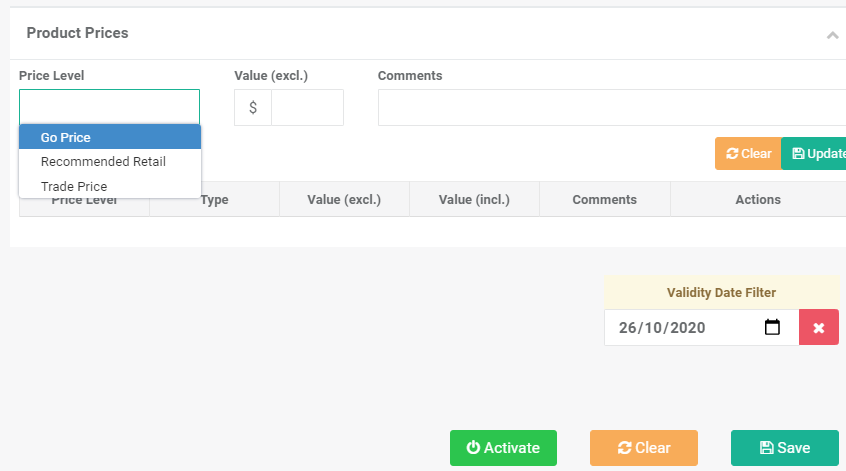
Enter a 'Go' and 'Trade' price.
Then select 'Save'.
Note
To find out how to load multiple products in one go or bulk load products in a batch, check here.
Uploading Products In Bulk
In this section of the tutorial you'll learn how to bulk upload or import products (in a batch or group).
You'll do this using a single upload file.
In the main menu on the left of screen, go to the Products section.
Select 'Products'.
Then select the settings 'wrench' icon on the far right.
Select 'Product Updater'.

This will give you a pop-up screen to upload the products.

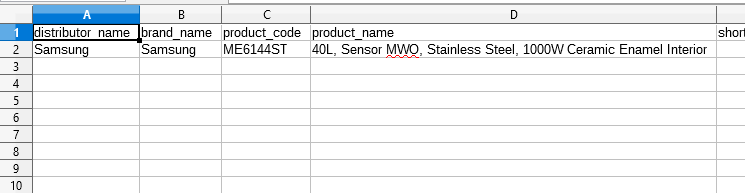
Select the 'Download Template' option to download a template CSV file.

A file will download to your PC.
Open it.
Update all the fields in the CSV and save it.
Check the 'Create New Models Only' option (if you only want to create new products in the system).

Select the 'Choose file' button and select your prepared file.

Note
The uploader only accepts CSV format.
Make sure you're in test mode.

Select the 'Upload' button.

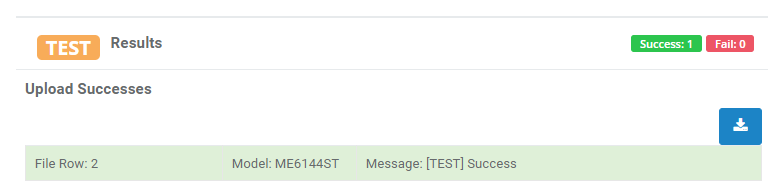
Notice the upload results section.
- Successful rows (green)
- Errors (red)
If you see errors:
-
Try to fix the errors listed
-
Then, try the upload again
-
Repeat until you see no more errors
Turn off the test switch.

This takes you to live mode.
Notice the status changes to 'Live'.
Select the 'Upload' button again.
Notice the upload results section.
Your upload is complete.
Setting Obsolete/Inactive
In this section of the tutorial you'll learn how to:
- Mark a product as obsolete (inactive).
- Supersede a product by another product.
Note
Once you make a product obsolete it'll make it inactive.
In the main menu on the left of screen, go to the Products section.
Select 'Products'.
Search
Select 'Show Inactive' when searching for obsolete/superseded products.

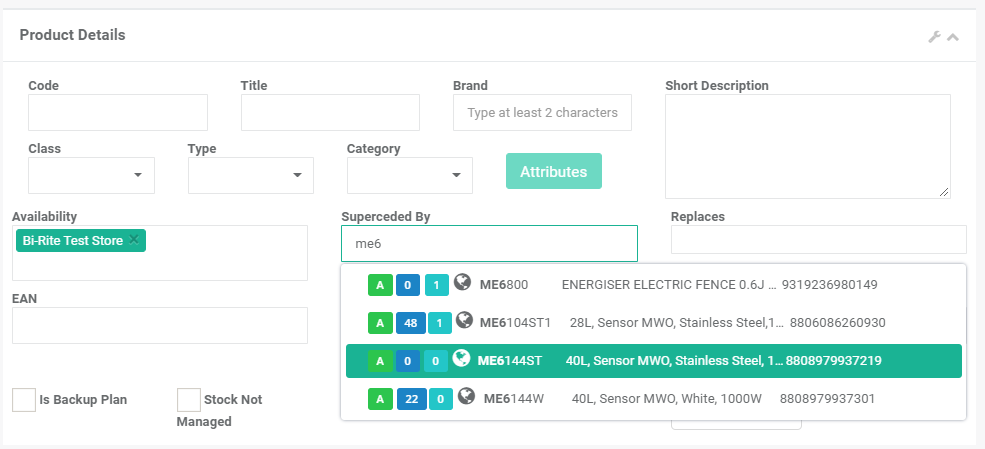
Superseded
Search for the product.
If the product is superseded by another product simply search for the product and select it in the 'Superseded By' box.
Select 'Save'.
Inactive
If the you want to inactivate a product, select 'Deactivate'.

Related Tutorials 
Products